How to Create a Sensory Bin for Endless Hours of Fun
5 May 2026
If you've ever found your toddler fascinated by a pile of rice or enraptured by squishing play dough between their fingers, you're not alone. Kids love to explore the world using their senses—and that's exactly where sensory bins come in. These magical tubs of hands-on fun are a parent’s secret weapon for playtime, learning, and even a little peace and quiet.
In this post, we'll walk through everything you need to know about how to create a sensory bin that will engage your child for hours. Whether you’re trying to keep a preschooler entertained on a rainy day or add some educational fun into your kid’s daily routine, this guide’s got you covered.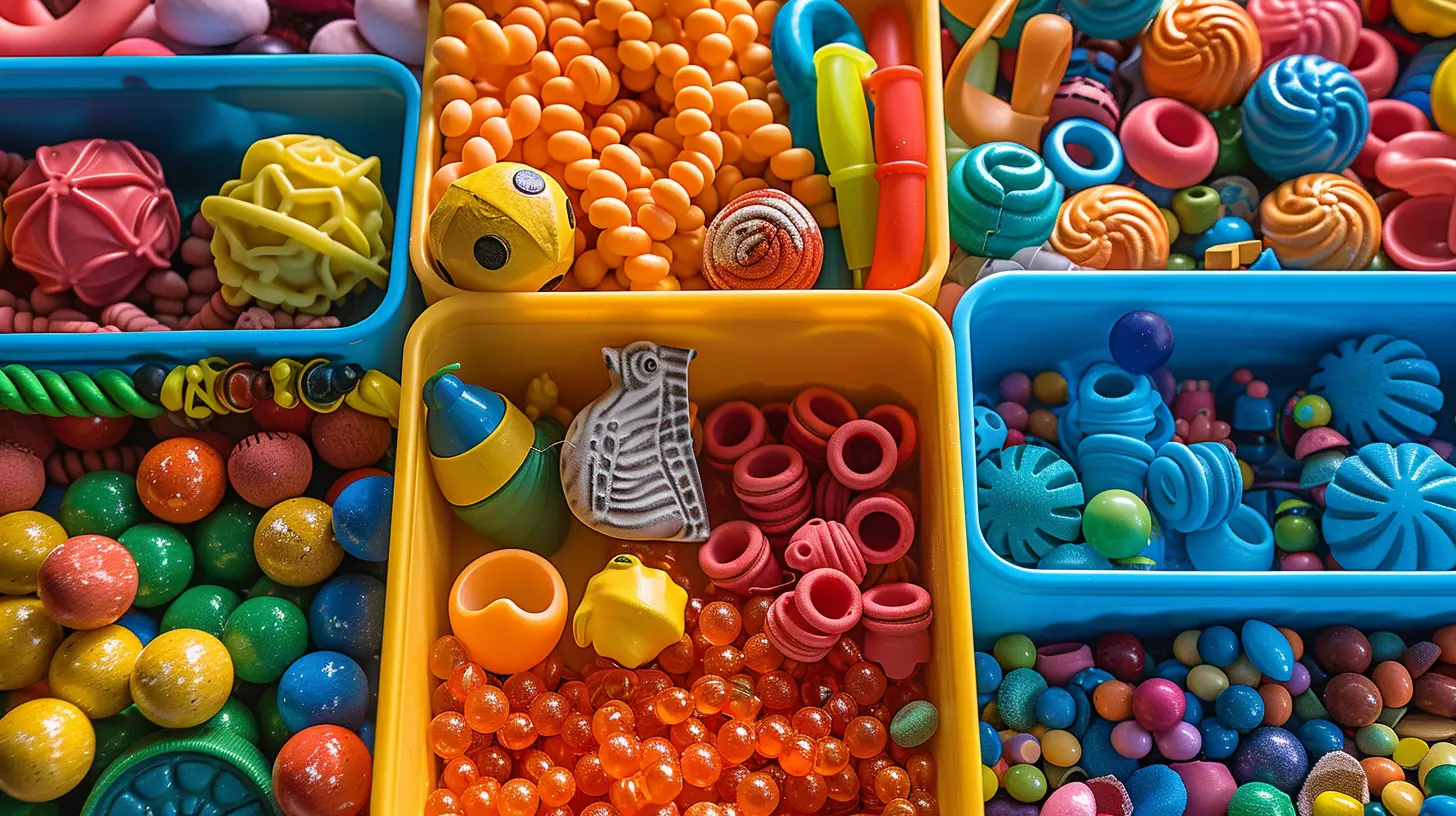
What Is a Sensory Bin?
Before we dive into the how-to, let's break down what a sensory bin actually is.A sensory bin is a container filled with materials that stimulate a child's senses—touch, sight, sound, smell, and sometimes even taste. It's an open-ended play tool that encourages creative exploration and hands-on learning. You can tailor it to any theme, season, or developmental goal.
Think of it like a mini sandbox… but way cooler.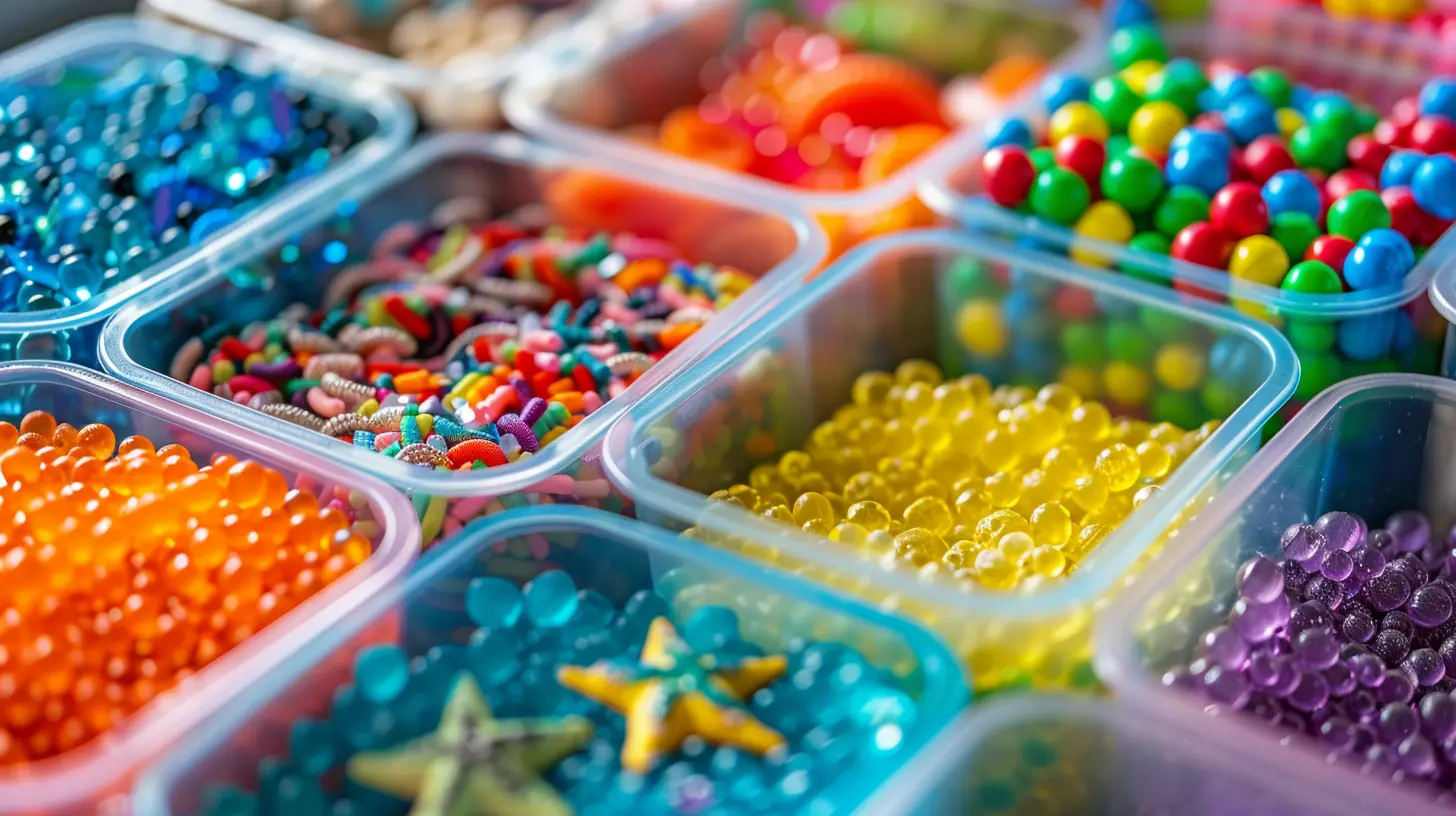
Why Kids (And Parents) Love Sensory Bins
Let’s be honest—kids are natural explorers. They love to touch everything, pour things back and forth, and make a mess while doing it. A sensory bin gives them permission to do just that—but in a controlled, purposeful way.Here’s why sensory bins are a win-win:
- Boosts cognitive development: Playing with different textures and materials helps kids make sense of the world.
- Improves motor skills: Scooping, pouring, pinching, and sifting all work those tiny hand muscles.
- Encourages independent play: Give your child a sensory bin and you might actually finish your coffee while it’s still hot.
- Supports language development: As they play, they describe what they feel and do—hello, new vocabulary!
- Easy to customize: You can theme a bin around holidays, colors, letters, numbers, or your kid’s latest obsession.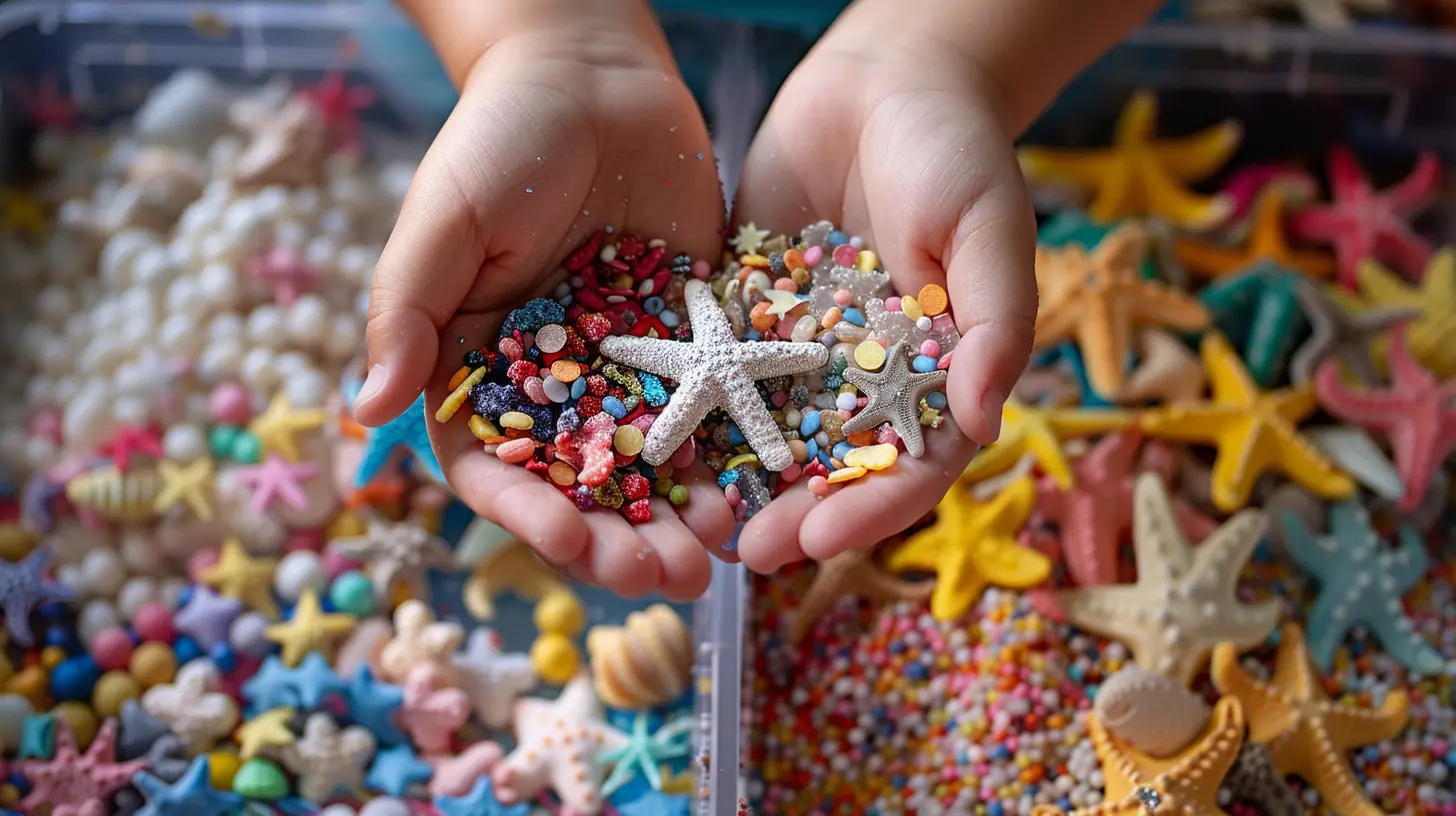
Step 1: Pick the Right Container
You don’t need anything fancy to start. Grab a shallow plastic bin with a lid—you probably already have one somewhere in your house. Look for something roughly 12x18 inches or larger if you have the space.The key things to keep in mind:
- Low sides for easy access
- Wide base to minimize tipping
- Something that seals if you need to store it away
Pro tip: You can even use a big baking tray or a water table. It doesn’t have to be Pinterest-perfect.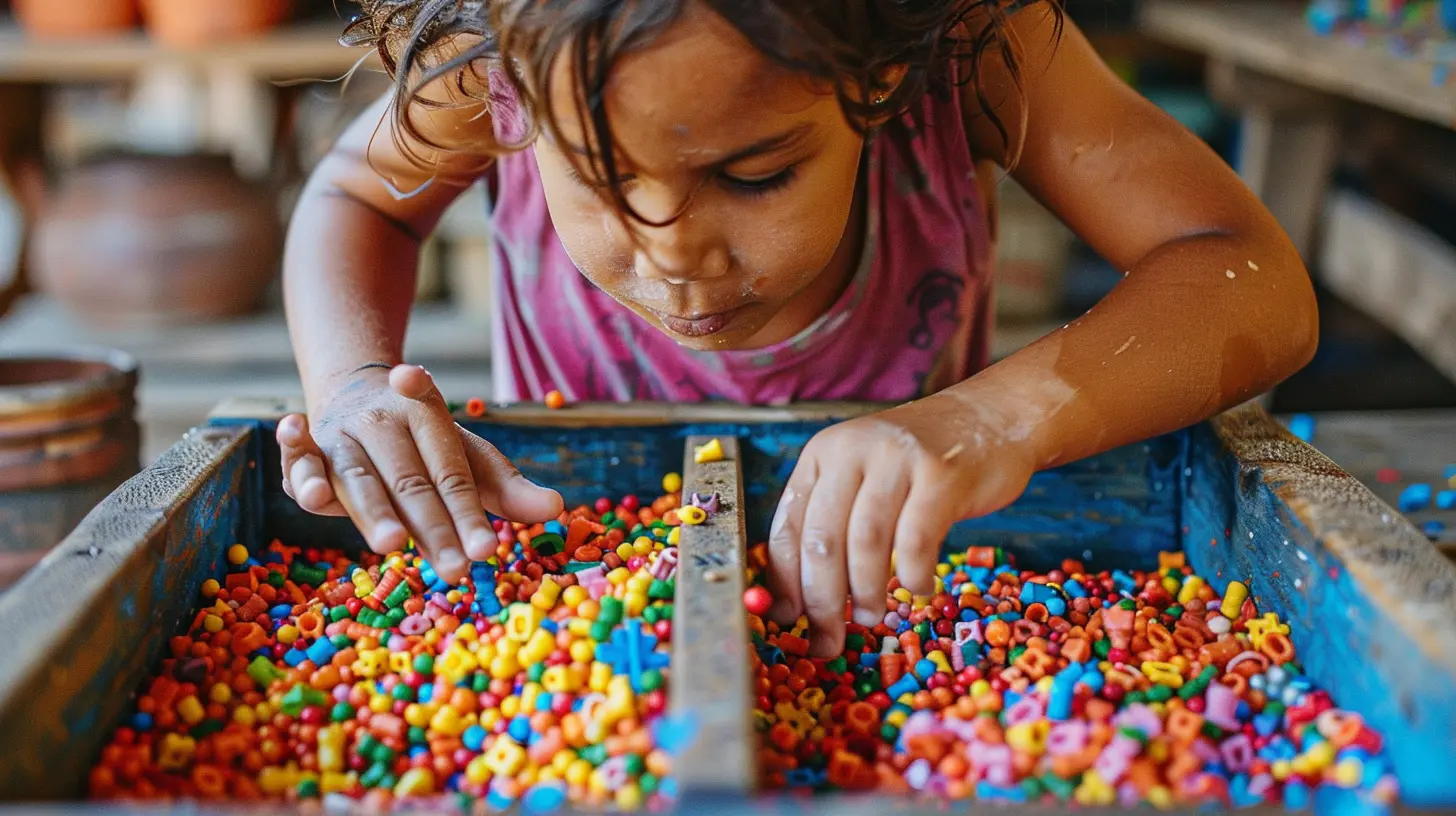
Step 2: Choose Your Base Material
The base is what your child will dig their hands into. It sets the tone for the sensory experience. You'll want something that's non-toxic, safe if tasted (because you know they will), and easy to clean up.Here are some popular options:
- Dry Bases:
- Rice (dyed different colors = instant wow!)
- Pasta (spirals, shells, even spaghetti)
- Beans (black beans, chickpeas, lentils)
- Oats or cereal
- Sand or kinetic sand (great for moldable fun)
- Wet or Messy Bases:
- Water (add ice for a chilly twist)
- Water beads (squishy and irresistible)
- Shaving cream or whipped cream (for the brave at heart)
- Slime or oobleck (cornstarch and water)
Need edible options? Try cooked spaghetti, pudding, or crushed graham crackers for tiny tots.
Step 3: Add Tools for Scooping and Pouring
You know how kids can spend 30 minutes just pouring water between two cups? That’s the sensory bin magic.Add in tools like:
- Measuring cups
- Plastic spoons
- Funnels
- Tongs or tweezers
- Small containers
Look around your kitchen drawers before buying anything—you likely have everything you need already.
Step 4: Throw in Themed Items
Now it’s time to make it fun! Toss in toys and trinkets that match a theme. It could be dinosaurs, farm animals, letters, or colors. This is where their imagination really kicks in.Here are a few theme ideas to get your wheels turning:
Ocean Adventure
- Base: Blue-dyed rice or water- Toys: Shells, plastic fish, sea animals
- Tools: Fishing net, small boats
Construction Zone
- Base: Kinetic sand or brown rice- Toys: Mini trucks, rocks, road signs
- Tools: Scoops, tiny shovels
Alphabet Prep
- Base: Colored pasta or beans- Toys: Plastic letters, flashcards
- Tools: Tongs to "grab a letter"
Arctic Freeze
- Base: Ice cubes, fake snow- Toys: Polar bears, penguins, snowflakes
- Tools: Spoon, measuring cups
The sky’s the limit, and your child’s interests are the key.
Step 5: Set the Scene for Play
Okay, don’t skip this part. You need to set up an environment where kids can dig in—without destroying your house.Here’s what helps:
- Lay down a plastic mat or old sheet
- Have a towel nearby for spills or wet hands
- Use a tray or a defined play area
- Explain the “rules” (like keeping beans inside the bin!)
Want to take it outside? Even better. Less stress for you, more fun for them.
Step 6: Rotate Bins to Keep Interest High
Here’s a parenting truth bomb: kids get bored—even with the coolest bin. That’s why rotation is clutch.Change up the theme every week or so, or just update the filler and toys. You don't need to reinvent the wheel each time. Sometimes just hiding the bin for a few days makes it feel brand new when you bring it back.
Also, involve your child in the creating process. Let them pick the theme or scoop in the rice. That alone can be half the fun!
Cleaning and Storage Tips
Let’s be real—sensory bins can get messy. But a little prep makes clean-up a breeze.- Use a sealable container to store materials between uses
- Sift out broken toys or trash before putting it away
- Store themed items in Ziplock bags or small organizers
- If the filler gets dirty, toss it or use it in the garden (beans and rice make great compost)
And let’s not judge if you just vacuum the mess into oblivion. Been there.
Safety Notes for Parents
While sensory bins are generally super safe, always keep a few safety tips in mind:- Supervise younger kids, especially those still putting things in their mouths
- Avoid small parts for kids under 3 (choking hazard!)
- Check for allergies—like flour, nuts, or certain soaps
- Wash hands before and after playtime
Basically, if it’s safe and fun, you’re good to go.
Sensory Bins Are Parenting Gold
Creating a sensory bin doesn’t require a craft degree, a trip to the store, or a million bucks. It just takes a little creativity and a tub full of stuff your kid can touch, scoop, smell, and squish.And the reward? Quiet, giggly, imaginative play that builds brains and buys you a breather.
Whether you’re crafting a winter wonderland in rice or digging for dinosaurs in black beans, you’re not just making a mess—you’re making magic.
So next time you're stuck for a rainy day idea, grab a bin, pour in some rice, toss in a few toys, and let your little one take it from there. You’ll be amazed at how something so simple can lead to hours of fun.
Final Tips at a Glance
- Keep it simple. Don’t overthink it.- Rotate themes to maintain excitement.
- Encourage storytelling while they play.
- Use what you already have.
- Always supervise little ones.
Sensory bins are more than just play—they're adventure tubs, mini science labs, and imagination factories. And the best part? Anyone can make one.
all images in this post were generated using AI tools
Category:
Playtime IdeasAuthor:

Karen Hurst
Discussion
rate this article
2 comments
Thalia Wilkerson
Sensory bins are like magic boxes! Toss in some rice, add a few toys, and watch your kids transform into miniature explorers. Who knew mess could be this fun?
June 10, 2026 at 2:29 PM
Sylvan McCaffrey
I love the idea of sensory bins! What materials do you recommend for different age groups to keep things interesting?
May 10, 2026 at 4:44 AM
Karen Hurst
For younger kids, try rice, dried beans, or sand. For older kids, add items like water beads, small toys, and natural elements like leaves or stones to keep it engaging.