How to Set Up a DIY Obstacle Course in Your Living Room
21 July 2026
Let’s face it — kids are little bundles of boundless energy. Rainy day? Too cold outside? Don’t sweat it. You can turn that living room of yours into an epic adventure land that’ll have your kids giggling, jumping, crawling, and burning off all that pent-up energy. Yep, we’re talking about a DIY obstacle course!
Don’t worry — you don’t need fancy gym equipment or a massive playroom. With a little creativity, a few household items, and a pinch of imagination, you can create a fun and safe obstacle course right in your living room. Ready to turn your house into the ultimate indoor playground? Let’s do it!
Why Set Up an Obstacle Course at Home?
Before we dive in, let’s talk about the “why.” Why go through the effort of turning your living room upside down?Simple:
- It encourages active play (great for physical health).
- Sparks creativity and critical thinking (especially if they help design it).
- Offers quality bonding time.
- Gives you a much-needed break from screens.
- It’s just plain fun.
Did we mention it tires them out? Yeah, you’re welcome for that nap you’ll get later.
Step 1: Clear the Space (Safety First!)
Start by choosing the right spot — your living room, playroom, or any sizeable area. Move coffee tables, lamps, and any fragile decorations out of the way. Clear a safe zone free of sharp corners or tripping hazards.Pro tip: If you’re short on space, even a hallway can be transformed into a mini obstacle course. It’s all about getting creative with what you’ve got!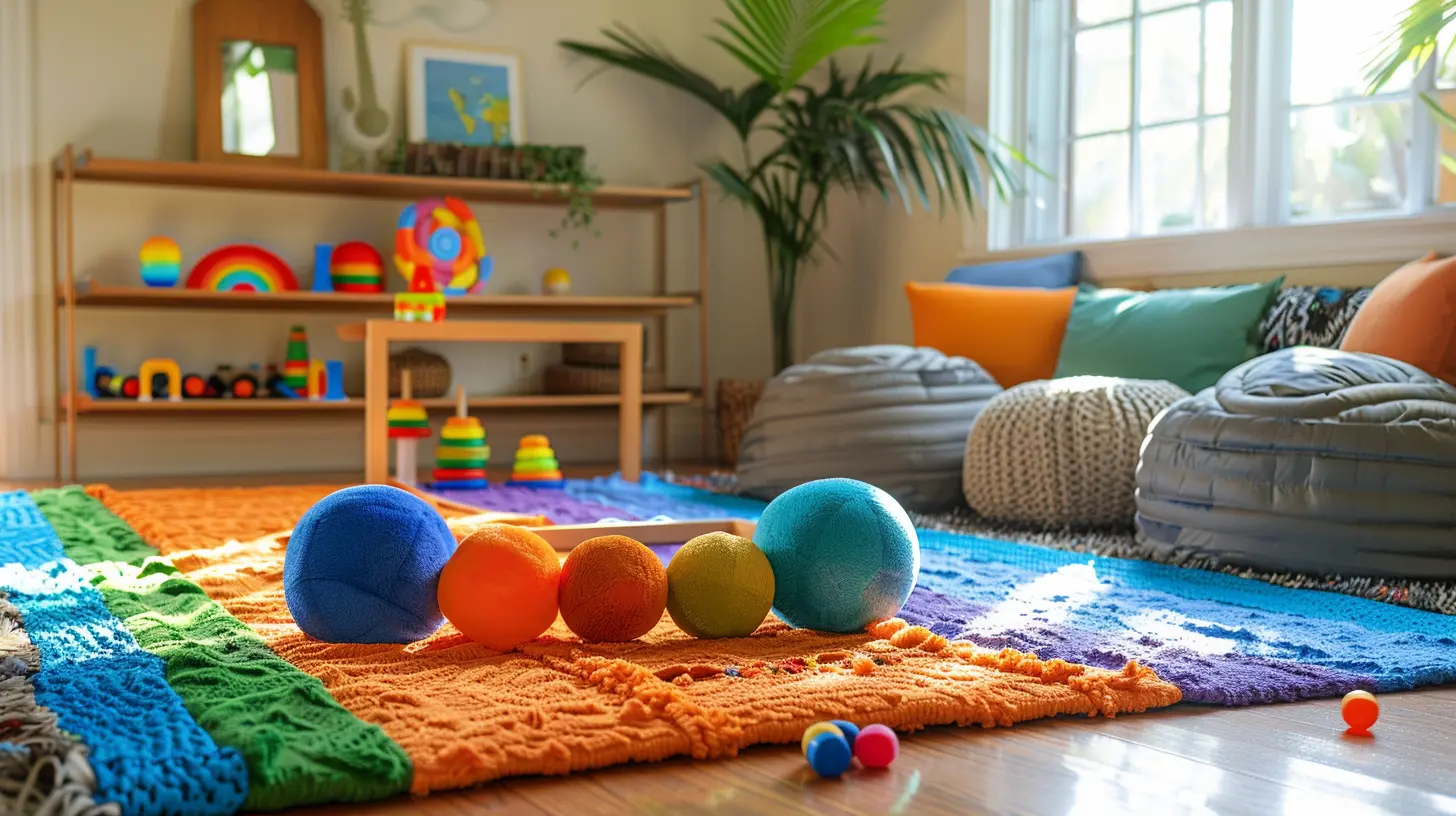
Step 2: Gather Your Supplies
Time to play scavenger hunt — the adult version. Think of everyday items that can double as course materials. Here are a few to get you started:- Couch cushions and pillows
- Blankets and towels
- Chairs and stools
- Hula hoops
- Painter’s tape or masking tape
- Laundry baskets
- Jump ropes
- Yoga mats
- Cardboard boxes
- Pool noodles
Tip: Avoid anything with sharp edges or things that slide easily on hardwood floors. Safety > style here.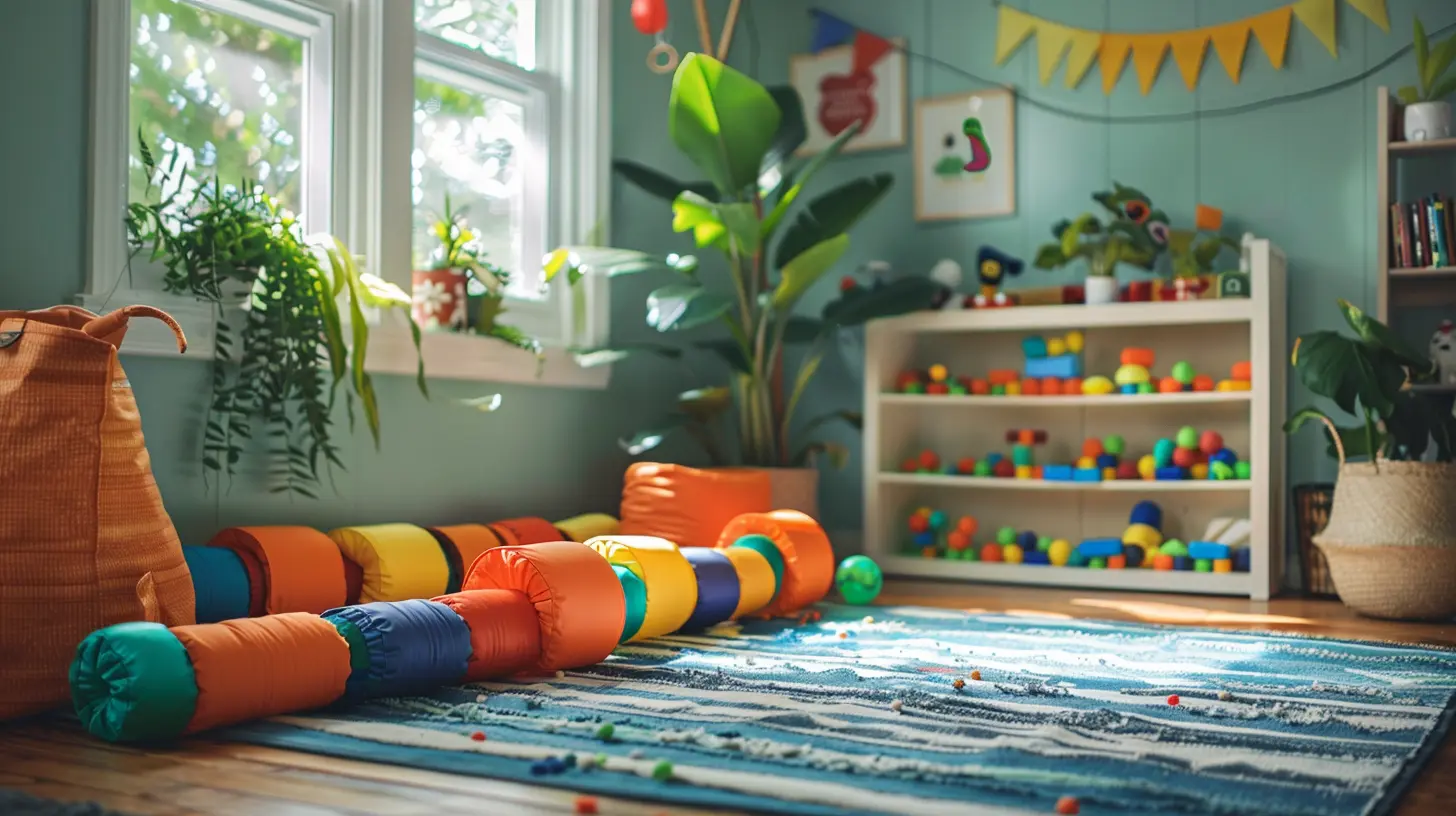
Step 3: Plan the Course (Get the Kids Involved!)
Here’s where the fun begins. Gather your little ones and ask them to pitch in. Let them sketch ideas or brainstorm cool “challenges.” Not only does this keep them engaged, but it also gets those creative gears turning.Here are a few simple obstacles to get the juices flowing:
- Pillow Crawl: Stack couch cushions or pillows in a zig-zag path. Kids crawl across without falling.
- Tunnel Time: Drape a blanket over two chairs to create a tunnel. Everyone loves a good crawl-through!
- Hurdle Hop: Use pool noodles or rolled-up towels as hurdles to jump over.
- Balance Beam: Lay a towel or string on the floor and test their balance.
- Toy Rescue Mission: Scatter toys around and ask your kid to “rescue” them one by one.
- Jumping Zones: Place paper or foam shapes on the floor as designated jumping spots.
- Laundry Basket Toss: Toss rolled-up socks into baskets for points.
- Animal Walks: Assign animal-themed movements (walk like a crab, hop like a frog, waddle like a penguin).
Step 4: Set the Route and Walk Through It
Once you’ve picked 4 to 6 obstacles, figure out the order. Mark start and end lines with painter’s tape. Make sure the flow makes sense — like going from a crawling position to jumping shouldn’t feel like gymnastics for your kiddo.Do a test run (or a few) to make sure everything is safe and doable. Adjust as needed — spacing, stability, and challenge level.
Tip: Use numbers or signs at each station so your kid knows what to do where. You can even use themed signs — like “Lava Pit Ahead!” or “Shark-infested tunnel!”
Step 5: Add Excitement With a Theme
Want to take it up a notch? Add a theme! Trust us, kids go bananas for this.Try these crowd-pleasers:
- Jungle Adventure: Stuffed animals, vines (ropes), and explorer hats.
- Space Mission: Tin foil accessories, moonwalk challenges, and “asteroid” dodge zones.
- Superhero Training Camp: Capes and strength tests (lifting plush toys).
- Pirate Treasure Hunt: Maps, hidden treasure, and obstacle "islands."
The more dramatic you get with your storyteller voice, the more into it they’ll be. Don’t be afraid to go wild with the storytelling — they’ll love every second.
Step 6: Time It (Optional But Super Fun)
Want to add some excitement? Introduce a timer — see how fast your child can complete the course. Or better yet, challenge them to beat their own time. No pressure, just giggles and friendly competition!For families with more than one kid, make it a mini Olympics. Encourage cheering, clapping, and goofy commentating. Who doesn’t love a living room full of laughter?
Step 7: Keep It Fresh & Switch It Up
The beauty of a DIY obstacle course? You can refresh it anytime. Kids get bored fast — but switching up the order, introducing new “missions,” or adding a few bonus challenges keeps things exciting.Want to keep it educational? Add color recognition, counting games, or letter scavenger hunts to each station. Suddenly, your obstacle course is also a stealthy learning moment. Win-win.
Tips to Maximize the Fun (and Minimize Chaos)
Here are a few extra golden nuggets to help your obstacle course go off without a hitch:- Dress comfy: Pajamas, gym clothes, or even costumes — whatever they can move in.
- Set boundaries: Let them know where the course ends and the couch (aka Mom’s coffee break zone) begins.
- Use music: Pump up some upbeat tunes to keep the vibe lively.
- Stay flexible: Kids might veer off script, and that’s okay. Let their creativity shine!
- Encourage storytelling: Ask them questions mid-course like “What does this lava floor feel like?” or “Oh no! The ninja monkeys are chasing you!”
Don't Forget to Clean Up Together
Once the fun winds down (and the sugar crash begins), make clean-up part of the game. Turn it into a race or a "rescue mission" to get those living room pillows back home where they belong.Teaching responsibility can be playful too!
Real Talk: Why This Matters More Than It Seems
Setting up an obstacle course might seem like a simple way to pass the time, but it’s so much more than that. It turns your home into a memory maker. It shows your child that you care about their happiness, creativity, and well-being — even on a Tuesday afternoon.You’re not just flipping couch cushions. You’re flipping the script on boredom.
Final Thoughts
So next time you’re stuck indoors, don’t panic — pivot. Create an indoor adventure that’ll have everyone up and moving. It’s doable, customizable, and best of all, it’s a blast for the whole family.Just remember: it doesn’t have to be perfect. It just has to be fun. And when your kid is out of breath, laughing like crazy, and asking to run through it “just one more time,” you’ll know you nailed it.
Now… grab those pillows. Your living room's about to become legendary.
all images in this post were generated using AI tools
Category:
Playtime IdeasAuthor:

Karen Hurst